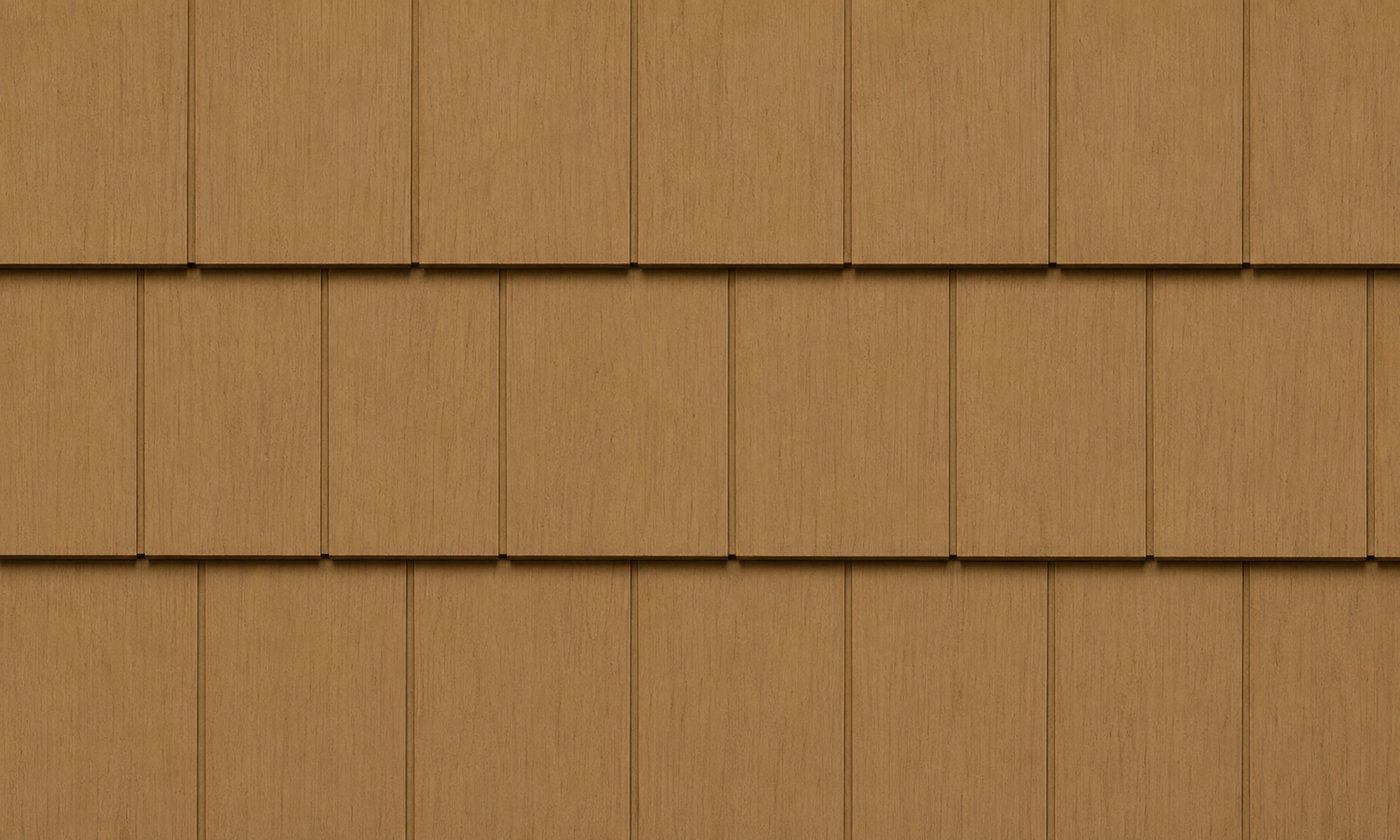
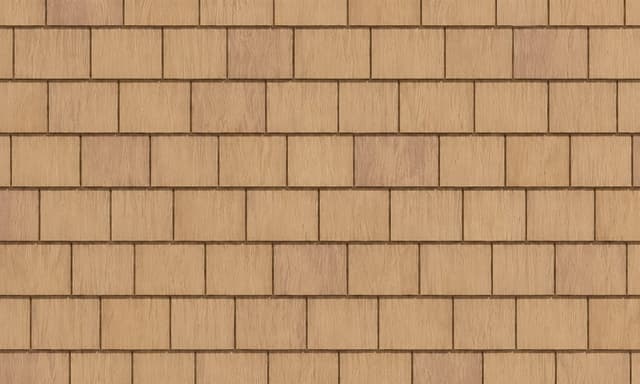
- 1
Not designed for roof application — install on vertical surfaces only.
- 2
Must be installed on solid sheathing (plywood, OSB, or existing wood siding, minimum 7/16" thick) with sufficient nail holding strength.
- 3
Cannot be installed with staples; galvanized or stainless steel ring shank roofing nails required: 1½" or 1⅝" length, ⅛" shank diameter, 3/8" or 7/16" head diameter.
- 4
Sheathing must be covered with a sheathing membrane per NBC 2020 Subsection 9.27.3.
- 5
Flashing must be installed at all openings, penetrations, and abutments with dissimilar materials per NBC 2020 Subsections 9.27.3.7 and 9.27.3.8.
- 6
Each panel must be nailed first through the round center hole in the nail hem to control the direction of normal expansion and contraction. If the center nail hole is cut off, drill a 3/16" hole in the center of the nail hem.
- 7
After center nail, fasten with 5 additional nails: one in the right-end nail slot, and one at each QuickReference™ Nail Mark Indicator. Leave 1/8" to 1/16" between nail heads and panel surface.
- 8
Siding and accessories must be fastened to framing with minimum specific gravity of 0.42, or structural sheathing, with minimum nail embedment of 3/4" (19 mm) into framing; when fastening to structural sheathing, nail penetration must be at least 3/4" beyond the backside of the sheathing.
- 9
Accessory materials (corners, starter strips, trim) must be fastened per manufacturer's instructions.
- 10
Use the PanelThermometer™ and temperature indicator lines on each panel to set correct panel spacing for thermal expansion at the time of installation: 0°F → 0-line; 30°F → 30-line; 65°F → 65-line; 100°F → 100-line; 130°F → 130-line; 160°F → butt panels tight.
- 11
Leave 1/4" (6 mm) space between the panel end and cornerpost or receiving channel for thermal expansion.
- 12
S7 stagger pattern — 1st course: full panel; 2nd course: cut 26" off the right side; 3rd course: cut 50" off the right side; repeat this sequence. Drill a 3/16" hole in the nail hem of any cut panel missing the factory center hole. On gable ends, do not follow this stagger pattern — avoid aligning shingle separations between courses.
- 13
D7 stagger pattern — 1st course: cut 2" off the top course of the panel at the recessed NailStop; 2nd course: cut 23-1/2" off the right side at the center pin hole; alternate courses to achieve a random shingle pattern.
- 14
When installing Mitered Offset Cornerpost, start the first panel 3" from the wall edge; install cornerpost pieces in the A, B, C, D repeating sequence as you move up the wall.