- 1
Install starter trim level — determine the lowest point of the wall, measure up 1/4" less than the width of the starter, drive a nail at one corner, then attach and pull a chalkline; verify the line is level using a line level or 4-foot level before snapping
- 2
Snap the chalkline and repeat the procedure around the entire house; install the Kaylok Steel Starter Trim along the bottom of the chalkline, nailing every 10" in the center of the slots
- 3
Keep the ends of starter strips at least 1/4" apart to allow for expansion; leave approximately 1/4" between the starter and the corner post
- 4
Flash the inside and outside of all corners with a water-resistant barrier, minimum 10" on each side, before installing corner posts
- 5
Place the corner post with a 1/4" gap between the top of the post and the eave or soffit; position the first nail at the top of the upper slot on both sides — the corner post hangs from these nails
- 6
All remaining corner post nails go in the center of the slot, 8" to 12" apart; leave 1/32" clearance between nail head and corner post; corner post must extend 3/4" below the starter strip and must be plumb; for a better finished appearance, remove a 3/4" portion of the nail hem on both sides of the corner post
- 7
For inside corners, two 1-1/4" J-channels must be used — follow the same installation procedure as for outside corner posts, with two J-channels installed face-to-face as shown in the Kaycan Vinyl Siding Estimating and Installation Guide
- 8
Install 1-1/4" J-channels (VJB1251F) along windows and walls not requiring corner posts; follow J-channel installation instructions in the Kaycan Vinyl Siding Estimating and Installation Guide
- 9
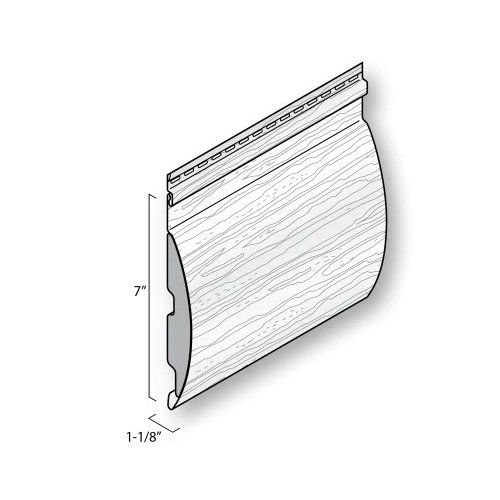
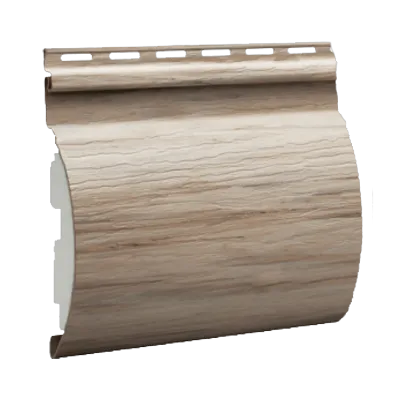
Place the first Montebello panel into the Kaylok Steel Starter Trim and slide it into the corner post pocket; fasten panels in the center of the nailing slots
- 10
Allow 1/4" clearance between siding and all channels and J-trim; increase to 3/8" when installing in temperatures below 40°F (4°C)
- 11
Leave 1/32" (approximately the thickness of a dime) between the fastener head and the nail slot — do not overtighten fasteners
- 12
Do not force the panel up or down when fastening; panel locks should be fully engaged but panels must not be under vertical tension or compression when fastened
- 13
Once fastened, vinyl panels can move freely in a side-to-side direction as temperatures change — verify panels float freely before moving to the next course
- 14
Check every fifth or sixth course for horizontal alignment; also check siding alignment with adjoining walls
- 15
When panels overlap at joints, overlap by half the length of the end notch (approximately 1"); ensure the foam inserts in the back of the panels are touching at each joint
- 16
Always overlap panel joints away from entrances and away from the point of greatest traffic; stagger siding seams so they are at least three courses apart
- 17
When cutting the panel above a window or under the crown: cut to length, punch snap locks every 6" to 8", then push the panel securely into the 1-1/4" J-channel; if cutting above the foam section, use a 5/8" J-channel instead and snap-lock accordingly
- 18
Apply a drip cap above all windows and doors before installing siding over them
- 19
Never face-nail siding — fasten through the nailing hem only
- 20
Installation instructions must be followed — any deviation will render the warranty null and void
- 21
Always refer to the complete Kaycan Vinyl Siding Estimating and Installation Guide before starting
- 22
Check all local building codes and fire regulations before installation; local code requirements always take precedence


