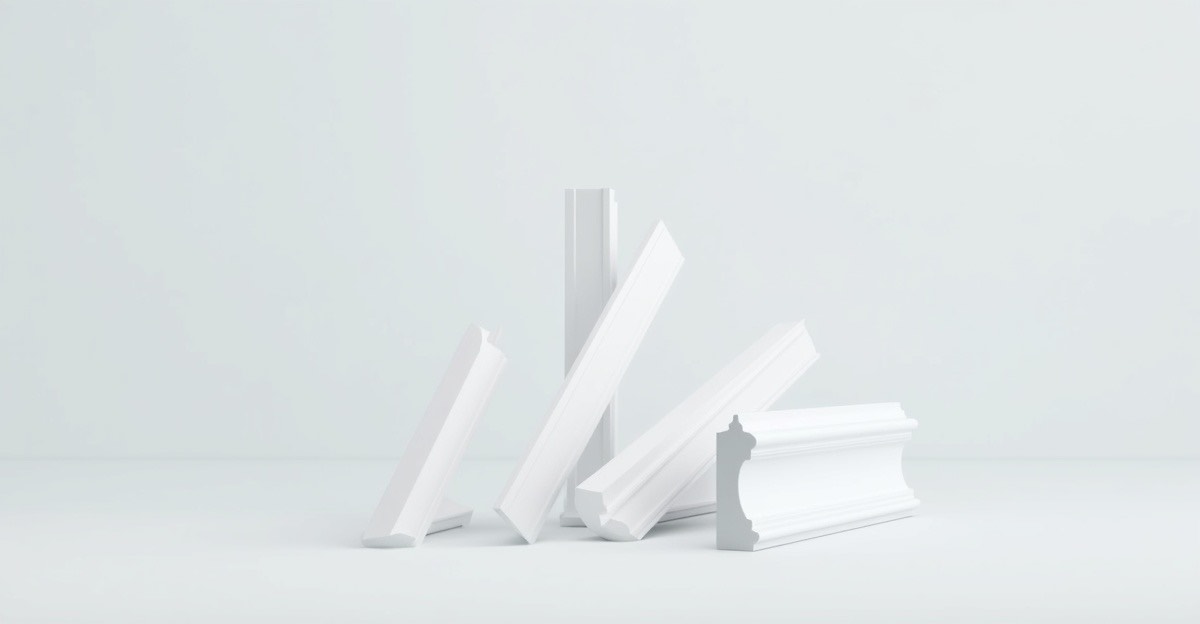
Ply Gem PVC Trim & Mouldings from Mitten is the complete cellular PVC exterior trim system — the one that truly replaces wood for good. Because cellular PVC contains no wood fibre and absorbs no moisture, every board, sheet, corner, skirt board, and moulding in this line will outlast wood, engineered wood, and fibre cement with virtually zero maintenance. The full lineup covers everything from fascia trim boards and outside corners to decorative crown mouldings, bead board porch ceilings, and post wraps — all in consistent Smooth or Woodgrain finishes that hold paint better than wood. Backed by a 30-Year Limited Transferable Warranty and distributed in Canada through Mitten Building Products.
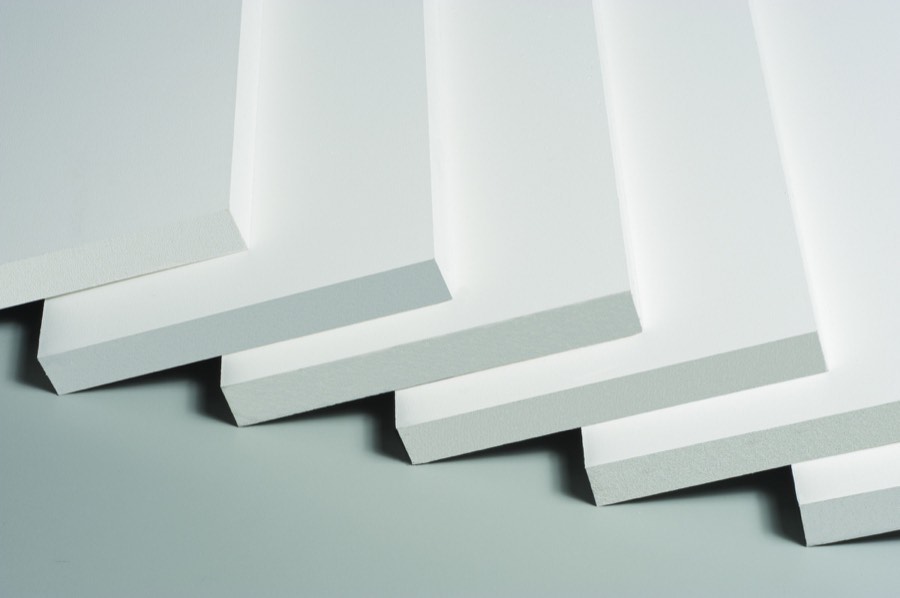
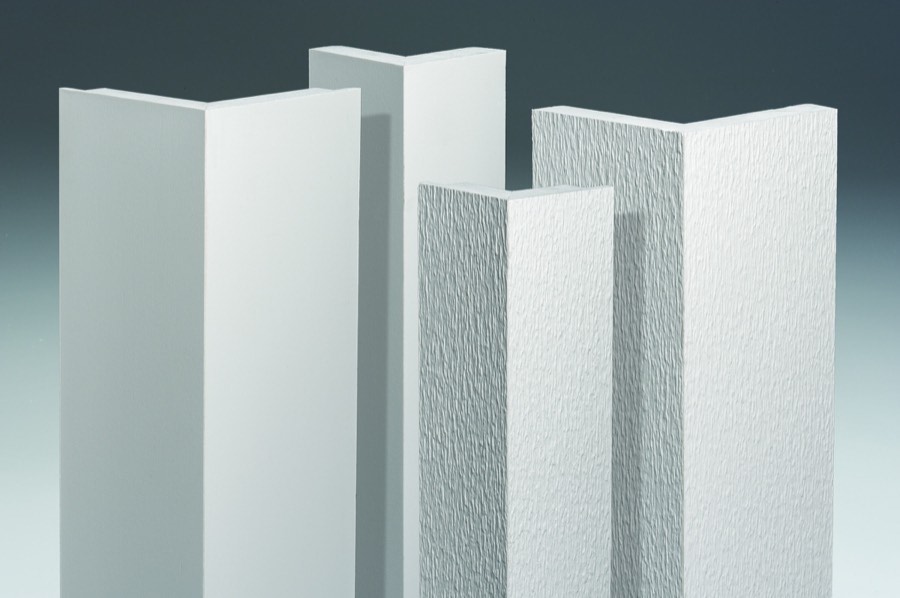
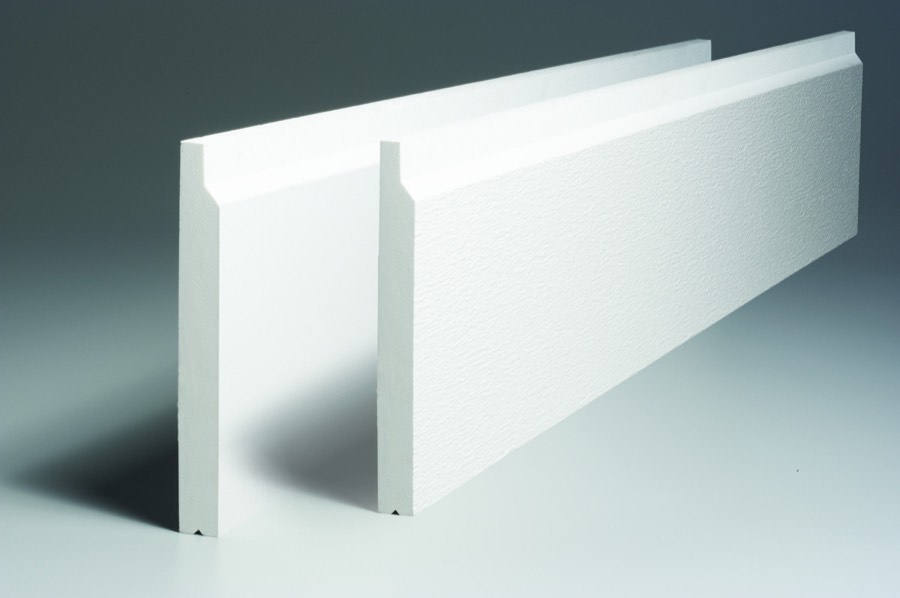
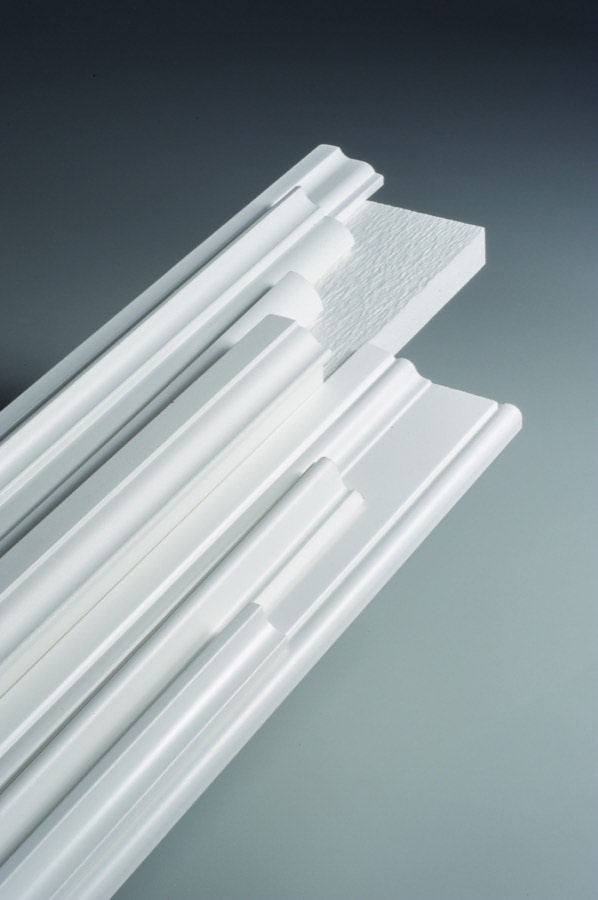
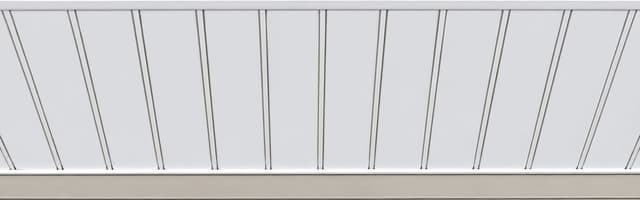
Ply Gem PVC Trim & Mouldings is the complete cellular PVC exterior trim system — "Replacing Wood For Good™" — that outperforms wood, engineered wood, and fibre cement trim on every metric that matters for long-term performance. Because Ply Gem cellular PVC does not contain or absorb water, it will never rot, split, swell, warp, or attract termites and other wood-boring insects. Unlike wood, it holds paint better, requires no sealing or caulking, and can even be installed to grade or against concrete without any risk of moisture damage. The full product line covers every exterior trim need from fascia to foundation: trim boards in 5/8", 1", and 5/4" thicknesses across widths from 2" to 16"; 4-foot-wide sheets for custom shapes, arches, and gable fills; one-piece outside corners in 4"×4" and 6"×6" (with J-notch option for clean vinyl siding termination); skirt boards in 4", 6", and 8" face widths; smooth post wraps in three sizes; notched reversible bead board and bead sheets for porch ceilings; and a full architectural mouldings line including crown, casing, brick mould, drip cap, quarter round, bed mould, shingle mould, rake, and more. All products are manufactured with Dense Core Technology™ for consistent fine cell structure throughout, cut and nail like wood without dulling blades, and are compatible with the Cortex® Screw Plug System — eliminating the need to caulk, sand, and paint every fastener hole. Available in both Smooth and Woodgrain finish. 30-Year Limited Transferable Warranty. Made in the U.S.A., available through Mitten Building Products.


