- 1
Comply with the National Building Code of Canada, Section 9.27, and all applicable local/provincial building codes at the time of installation. Failure to comply may void applicable warranties.
- 2
REGIONAL REQUIREMENT — Quebec and coastal provinces (NFLD, NS, NB, PEI, BC): Canexel siding MUST be applied over furring strips (strapping). Maibec also recommends a humidistat-controlled mechanical ventilation system per NBC best practice.
- 3
Maximum stud spacing: 16 in. O.C. (406 mm for Ridgewood D-5/UltraPlank/VStyle; 400 mm for Ced'R-Vue). Studs must be at minimum 1.5 in. × 3.5 in. (38 mm × 89 mm). Siding may be installed over sheathing or directly on unsheathed walls (single-skin). Do NOT install over green, crooked, or rain-soaked framing or buckled sheathing.
- 4
RE-SIDING: When installing over an existing wall, all old siding MUST be removed first. Install new furring strips and replace the water-resistive barrier before applying Canexel.
- 5
Maintain a minimum 8 in. (203 mm) clearance between the bottom edge of siding and grade. Siding must NEVER contact concrete directly.
- 6
Install a code-approved breathable water-resistive barrier (Tyvek®, Typar®, etc.) behind all siding. Seal every penetration — electrical boxes, conduits, pipes, wiring, and tears in the barrier.
- 7
Install a vapour barrier with perm rating < 1 (polyethylene or foil) on the warm/interior side of the wall, extending behind partition walls to form continuous protection.
- 8
INSULATED SHEATHING: For rigid foam up to 1 in. (25 mm), siding may be nailed directly but fastener length must ensure minimum 1-1/4 in. (32 mm) penetration into framing. For foam greater than 1 in., or fiberglass sheathing, install minimum 1-1/4 in. × 4 in. strapping over the sheathing, fastened into framing at 16 in. O.C. maximum.
- 9
FURRING STRIPS (when required): Install furring strips vertically, minimum 1 in. × 3 in. (25 mm × 76 mm) kiln-dried lumber, fastened into studs at 16 in. (406 mm) O.C. Leave top and bottom of the cavity open; cover the bottom opening with an insect/mesh screen.
- 10
Seal all gaps between siding and trim with a high-quality, non-hardening, paintable sealant. Always leave a 3/16 in. (5 mm) expansion gap where siding butts against trim, casings, or fixed materials.
- 11
NAILING: Minimum 1-1/4 in. (32 mm) fastener penetration into stud/strapping (nailable sheathing may be included in this measurement). Spiral shank nails: minimum 1-1/8 in. (29 mm) stud penetration. Minimum nail shank diameter: 0.113 in.; minimum head diameter: 0.240 in. Maximum nail spacing: 16 in. (406 mm) O.C. NO STAPLES.
- 12
Blind nailing required in all fields. At windows and other wall openings, face-nail along the edge of siding at 8 in. (203 mm) O.C. Do NOT force or spring siding into place — this causes buckling.
- 13
JOINTS: Vertical joints between adjacent siding pieces must land over the centre of a stud or furring strip. Stagger joints from one course to the next.
- 14
FLASHING: Install kick-out flashing at all roof-wall intersections. Step flashing: minimum 4 in. (102 mm) upper leg. Install drip caps above all windows and doors. Minimum 2 in. (51 mm) clearance between trim and roofing.
- 15
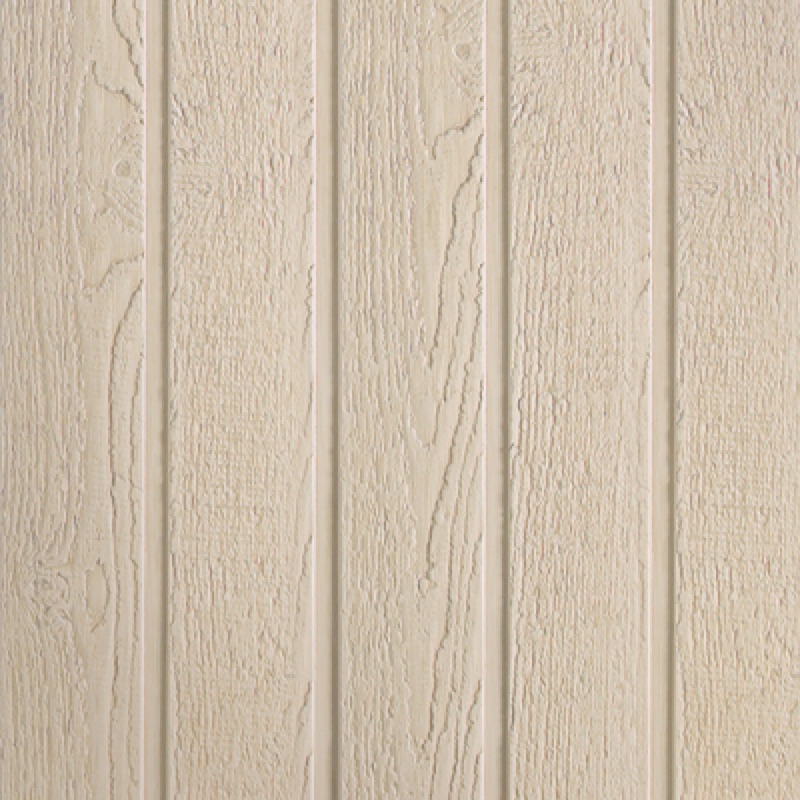
VERTICAL & DIAGONAL INSTALLATION (UltraPlank, VStyle, and Ridgewood D-5 diagonal): In Quebec and Maritimes, double-furring or diagonal furring is MANDATORY. In Ontario, horizontal furring at 16 in. (406 mm) O.C. is permitted for vertical. For diagonal applications, furring spacing must be 12 in. (305 mm) O.C. Furring must be minimum 1 in. (25 mm) thick solid wood; leave periodic 1–4 in. (25–102 mm) gaps for ventilation and drainage.
- 16
UltraPlank must NOT be installed horizontally — vertical or diagonal only. For UltraPlank and VStyle in vertical or diagonal installation, use sealant only at board joints — do NOT use aluminum joint moulding.
- 17
TWO-STORY OR TALLER VERTICAL WALLS: Cut siding at each floor line leaving a 5 mm gap, then seal. On walls exceeding approximately 3 m (10 ft) with vertical installation, fire-blocking may be required by local code.
- 18
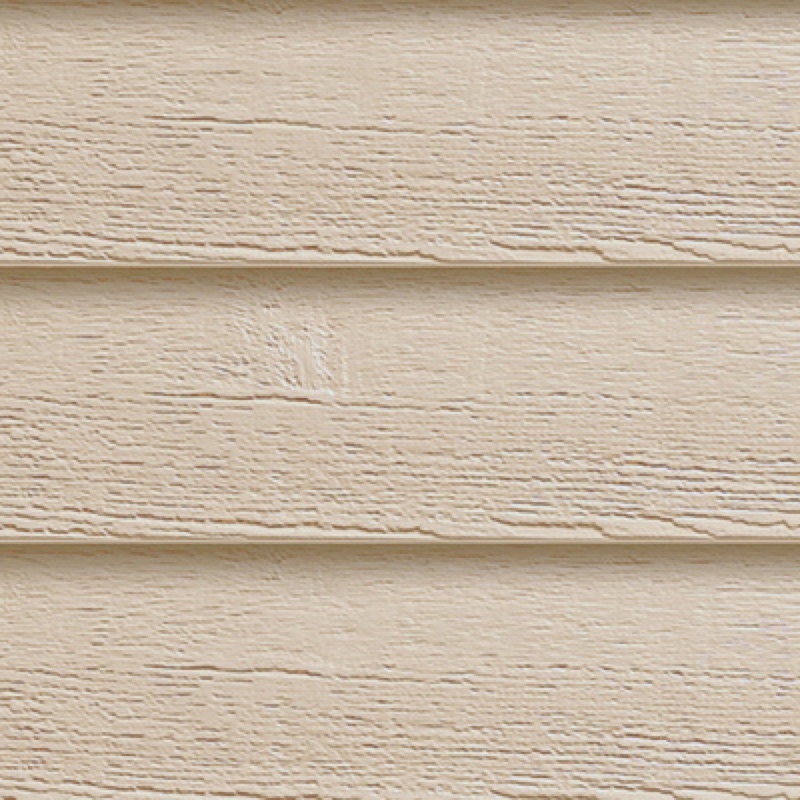
Ced'R-Vue 6" Snap Lap must be separated ("snapped") along the score line on a flat surface at least 12 ft long before installation. If the surface is uneven, the groove will not snap cleanly.
- 19
CUTTING: Use a fine-toothed saw or power saw with a combination blade. Cut toward the finished face to prevent paint chipping on edges.
- 20
Paint all exposed cut edges with Canexel colour-matched touch-up paint. Apply with a Q-tip or the point of a cloth — do not brush or rub.
- 21
STORAGE: Do NOT store in heated buildings (heat dries the product and causes buckling). Keep flat on Maibec CanExel supplied pallets at least 6 in. (152 mm) off the ground, covered with the supplied water-resistant shroud. Allow siding to acclimatize to site conditions before installation.
- 22
MAINTENANCE: Wash annually with non-abrasive household cleaners and rinse thoroughly. DO NOT use a pressure washer on Canexel siding.


