- 1
Comply with all applicable local and national building codes. LP SmartSide installation specifications have achieved code recognition under ICC-ES ESR-1301 (performance standard ICC-ES AC321), APA PR-N124, HUD-MR-1318, and CCNC 11826.
- 2
CLEARANCES: Maintain minimum 6 in. (152 mm) between siding/trim and finished grade. Maintain minimum 1 in. (25 mm) clearance above any surface where water may collect (porches, patios, walks). Maintain minimum 1 in. (25 mm) clearance at roof lines. Siding and trim must NEVER contact masonry, concrete, brick, stone, stucco, or mortar.
- 3
SUBSTRATE: Install framing at 19% moisture content or less. Do NOT install over green or rain-soaked framing. Install a breathable water-resistive barrier (house wrap) behind all siding and trim per applicable building code. Properly integrate all flashing with the WRB to prevent moisture intrusion.
- 4
MASONRY & CONCRETE WALLS: When installing over masonry or concrete, fur out the wall with framing at 16 in. O.C. of adequate thickness, leaving the cavity open at top and bottom for convective ventilation.
- 5
WET CELLULOSE INSULATION: Wet blown cellulose insulation must not be in direct contact with the siding and must dry for a minimum of 24 hours before siding is applied.
- 6
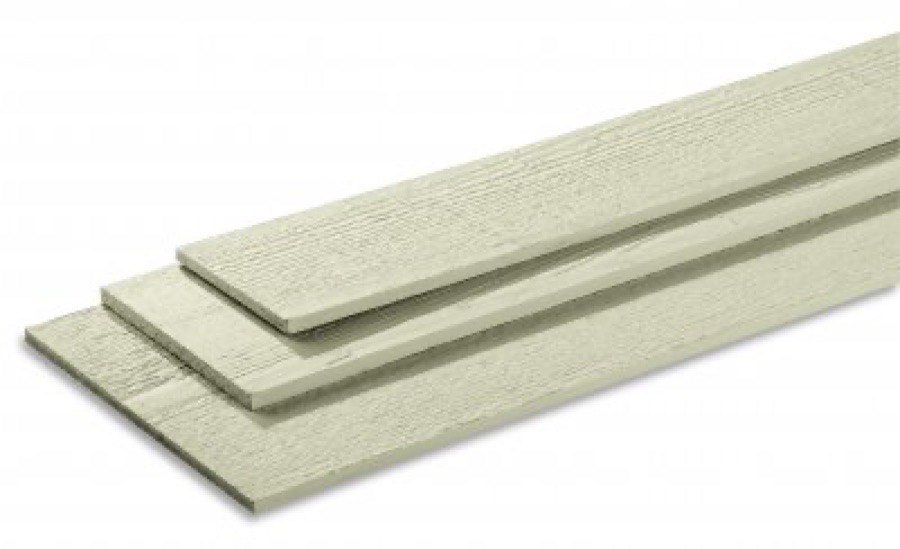
STUD SPACING: 38-Series — maximum 16 in. (406 mm) O.C. 76-Series — maximum 24 in. (610 mm) O.C. With alternate fastening over APA-rated sheathing panels (minimum 7/16 Category, DOC PS 2), 38-Series 6 in. and 8 in. widths may also be installed at 24 in. O.C.
- 7
NAILING — LAP SIDING: Both series require minimum 1-1/2 in. penetration into structural framing. 76-Series: minimum 8d hot-dipped galvanized or stainless steel nail (0.113 in. shank, 0.297 in. head); maximum 12 in. O.C. 38-Series: minimum 6d hot-dipped galvanized nail (0.091 in. shank, 0.200 in. head); maximum 12 in. O.C. Place nails minimum 3/8 in. from board ends and minimum 3/4 in. from top edge. Nail from the center outward, or from one end to the other — NEVER from both ends toward the middle. Fasteners below window sills must be spaced maximum 8 in. O.C. All exposed face nails must be caulked and sealed to prevent moisture intrusion. NO STAPLES.
- 8
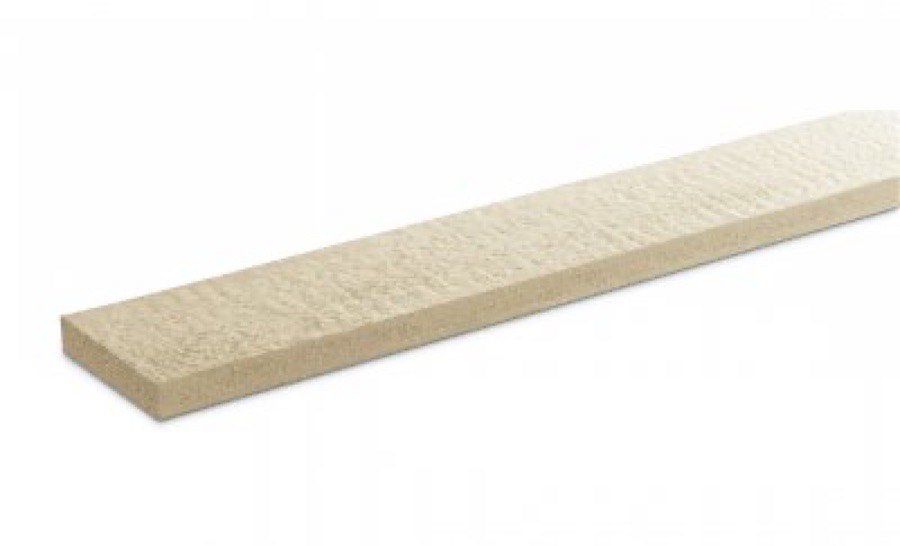
NAILING — TRIM & FASCIA: Minimum 8d hot-dipped galvanized or stainless steel nail (0.113 in. shank, 0.270 in. head); minimum 1 in. penetration into structural framing or sheathing + framing. Place nails minimum 3/8 in. from ends and edges. Two nails at both ends of each board; maximum 24 in. O.C. along length, OR alternating edges at maximum 12 in. O.C. Number of nails per cross-section: less than 7 in. wide = 2 nails; 7-12 in. = 3 nails; greater than 12 in. = 4 nails. For edge nailing, ALL nail holes must be pre-drilled — do not edge nail without pre-drilling.
- 9
INSULATED SHEATHING: Rigid foam up to 1 in. thick — nail directly through foam; increase nail length to ensure minimum 1-1/2 in. penetration into framing. Rigid foam greater than 1 in. thick — install minimum 1-1/2 in. x 3-1/2 in. vertical strapping over foam, fastened to framing at maximum 16 in. O.C. with minimum 1-1/2 in. nail penetration into framing.
- 10
ALTERNATE FASTENING — SIP ASSEMBLIES: Requires minimum 7/16 Category APA-rated wood structural panels (DOC PS 2). 38-Series: minimum #8 hot-dipped galvanized tapered-head wood screw (0.270 in. head) at maximum 12 in. O.C., or 6d ring-shank nail (0.091 in. shank, 0.200 in. head) at maximum 8 in. O.C. 76-Series: minimum #8 hot-dipped galvanized tapered-head wood screw (0.270 in. head) at maximum 16 in. O.C.
- 11
ALTERNATE FASTENING — ICF ASSEMBLIES: Minimum #8 hot-dipped galvanized tapered-head self-drilling screw (0.270 in. head). Minimum withdrawal value 50 lbs at maximum 12 in. O.C., or 31 lbs at maximum 6 in. O.C. Screw must penetrate minimum 3/8 in. beyond the thickness of the nailing flange.
- 12
ALTERNATE FASTENING — STEEL STUD FRAMING: Minimum #8 hot-dipped galvanized tapered-head self-drilling screw (0.270 in. head); minimum steel thickness 0.032 in. (20 gauge); minimum withdrawal value 50 lbs. Minimum 5 threads must extend beyond combined thickness of siding and steel. 38-Series max 16 in. O.C.; 76-Series max 24 in. O.C.
- 13
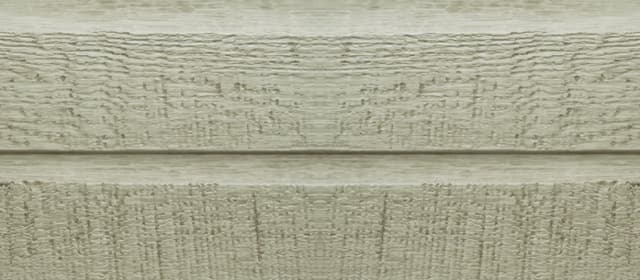
LAP & JOINTS: Overlap successive courses minimum 1 in. Butt joints must occur over studs; stagger joints across successive courses. Leave minimum 3/16 in. gap at all butt joints. Joint treatment — choose one: (1) seal with ASTM C920 Class 25 sealant; (2) install joint moulding (add moulding web thickness to the gap); or (3) if siding is prefinished by an approved LP prefinisher and backed with minimum 4 in. wide flashing with factory-finished ends, no sealant or moulding is required.
- 14
TRIM BUTT JOINTS: Leave minimum 3/16 in. gap; seal with ASTM C920 Class 25 sealant. Install 4 nails (2 on each side of joint). Do NOT miter corner joints of fascia, band boards, or corner trim.
- 15
FASCIA: Install a non-corrosive drip-edge at the bottom of roofing where it meets the fascia. 190-Series MUST have a solid wood sub-fascia. 440-Series or larger may be installed as fascia without sub-fascia only when BOTH conditions are met: (1) trim width is greater than 5 in., AND (2) rafter/truss spacing does not exceed 24 in. O.C. LP SmartSide trim and fascia are NOT designed for structural applications — do not use as structural members, trellis, railing, fencing, decking, or sills.
- 16
TRIM — EXPOSED OVERHANGS: When trim or fascia extends beyond the protection of the roof, cap the top of the exposed trim with metal coping integrated with the roofing system.
- 17
ADJOINING MATERIALS — VINYL SIDING: Install Z-flashing with minimum 4 in. upper leg between horizontal trim and J-channel. Do NOT caulk between trim and J-channel. STUCCO/BRICK/STONE: Maintain minimum 3/8 in. separation; seal with high-quality sealant (backer rod may be required per the sealant manufacturer's instructions). Install sloped Z-flashing over all horizontal trim. All flashing materials must have a service life of 50 years or greater; minimum 4 in. upper leg on all flashing.
- 18
FLASHING: Install kick-out flashing at all roof-wall intersections. Step flashing minimum 4 in. upper leg. Flash and shim all window and door openings so trim sits on a level wall plane; leave 3/16 in. gap between siding and window/door trim and seal.
- 19
FINISHING: Apply finish coat of 100% acrylic latex exterior paint within 180 days of installation (semi-gloss or satin finish recommended). Oil or alkyd paints are also acceptable. DO NOT use semi-transparent or transparent stains, shake/shingle paints, or vinyl-based resins (vinyl acetate, PVA, or vinyl acetate/acrylic copolymer). Prime and paint ALL exposed cut edges in the field.
- 20
STORAGE & HANDLING: Store flat on a well-supported, flat, well-drained surface off the ground. Cover with a waterproof covering and protect from direct weather exposure. Keep dry — do NOT install LP SmartSide wet.
- 21
WARRANTY CLAIMS: Contact LP Building Products at 1-800-450-6106 / LP Corporation, 414 Union St., Nashville, TN 37219.


