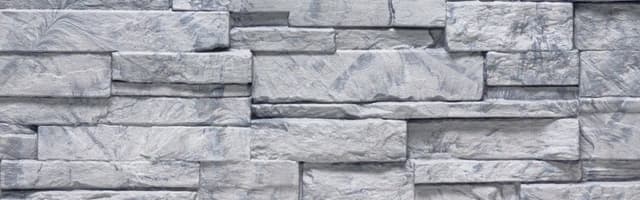
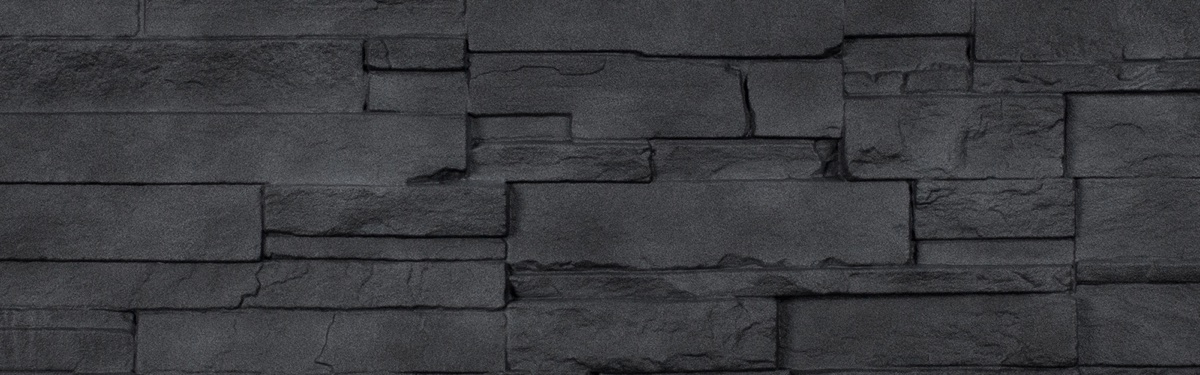
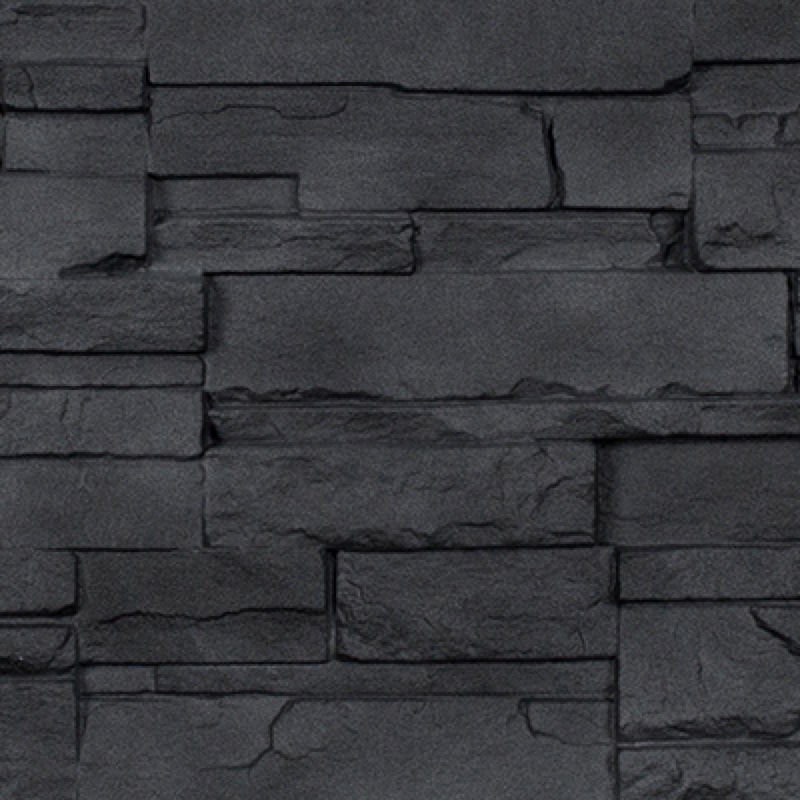
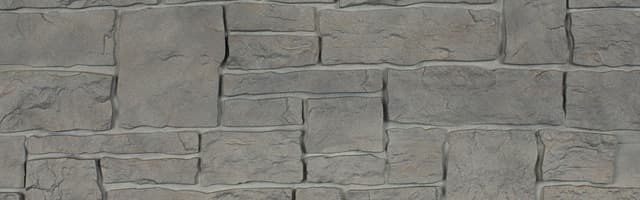
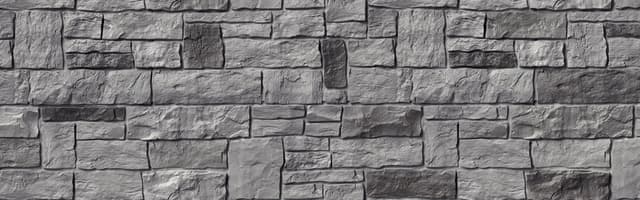
- 1
Preparation: install at the lowest point of the structure, working left to right. Always install decorative corners before starter strips where corners are required. Install Universal Starter Strips at the lowest point — ensure the horizontal starting line is perfectly level and square with the wall. Leave a 1/2" (1.27 cm) gap at each wall end when using NovikTrim1. If the lowest installation point is at floor level, leave a 1-13/16" (4.61 cm) gap between the starter strip and the floor. Nail starter strips through the center hole and all nailing holes at maximum 8" (20.32 cm) intervals. Slide successive starter strips into each other leftward to the stopper.
- 2
Fastener requirements: use non-corrosive (aluminum or galvanized) nails or screws with a head diameter of minimum 0.4" (1 cm) and a shank diameter of 0.150" (0.38 cm). Fasteners must penetrate a minimum of 1-1/4" (3.18 cm) into a solid surface. For furring walls: install furring strips at 8" (20.32 cm) o.c. vertically with one strip behind each nail hole.
- 3
Nailing each panel: nail the center hole first, then both extremities, then the lateral holes. Ensure a minimum of 5 nails in the nailing channel at maximum 16" (40.64 cm) intervals. Never hammer nails flush — leave a 1/16" (0.16 cm) gap. The stoppers around the holes stop the hammer automatically and provide the required clearance.
- 4
Panel assembly: cut the left side of the first panel in a clean, straight line — this cut is visible. Insert the panel onto the starter strip using the hooks on the back and slide up to the corner trim. No gap is required between the panel and corners. Hook successive panels onto the starter strip and slide into the previous panel; lock tabs on both sides — butt panels tight, no gap needed between panels. Measure the wall length before starting to avoid a very small piece at the right end. For a better appearance, cut panels against corners at a 3° angle.
- 5
Row stagger: start the second row with a 16" (40.64 cm) offset from the cut line of the first row. Slide the bottom of the panel into the continuous slot on top of the previously installed row. Alternate the offset position on each new row to create an authentic random-stone appearance. Check horizontal alignment every few rows.
- 6
Last row / cut panels without nail holes: choose a concealed spot and use a knife to create new 1/2" (1.27 cm) slots — slots must be wider than the nail shank but narrower than the nail head. This allows thermal expansion and contraction movement. Nail at maximum 16" intervals. If straightening is needed, add shims behind the new nailing slots.
- 7
Trim finishing: leave a 1/4" (0.64 cm) gap between any trim (NovikTrim1 or J-Channel) and the siding panel end. The required opening for finishing trim is 1-1/8" (2.86 cm). For a cleaner base finish, install NovikTrim1 at wall base with starter strips 2-1/4" (5.72 cm) from base and NovikTrim1 Base 3/16" (0.48 cm) from base.
- 8
Vertical installation (indoor/accent): install left to right from the highest point downward. Install decorative corners first, then starter strips vertically at the right side of corners. Leave 1-13/16" gap between corners and starter strips. Nail panels as in standard installation. Each successive row offsets 16" from the previous row's cut line.
- 9
Heat sources: when installing near a heat source such as a fireplace or electric baseboard heater, the installer is responsible for ensuring panels will not exceed 176°F (80°C). Maintain safe clearance distances.
- 10
Care & maintenance: NovikStone DS requires no painting, staining, caulking, or masonry maintenance. Clean periodically with mild soap and water using a soft-bristle brush — clean bottom-up and rinse top-down with clear water. Do not use a pressure washer, abrasive cleaners, or strong solvents.