

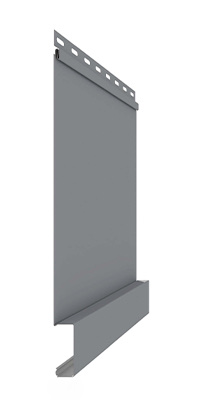
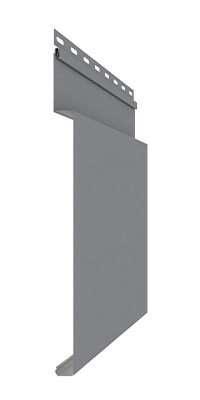
BBBoard and Batten
Prefinished galvanized steel vertical siding profile with a classic board-and-batten aesthetic. Part of The Farmhouse Series. No exposed screws — fasteners are hidden behind the overlapping batten ridge of the next panel.
| Length | 120" (3048 mm) · Special order: 156" (3962 mm) |
| Height / Width | 12" coverage (305 mm) |
| Thickness | 3/4" depth (19 mm) |
| Panel Weight | 6 lbs/panel (2.7 kg) · 54 lbs/box 26g |
| Panels/Box | 9 panels/box |
| Coverage | 90 sq.ft./box (8.36 m²) — 10 ft panels |
| Wind Resistance | 2333.8 Pa (49 psf) @ 16" o.c. · 2553.6 Pa (53 psf) @ 24" o.c. (ASTM D5206-06A) |
| Installation | Vertical only — screws every 16" or 24" o.c. in pre-punched slots |
| Backing | Plywood min. 5/8" | Wood furring 16" or 24" o.c. | Metal furring 16" or 24" o.c. — all furring must be level |
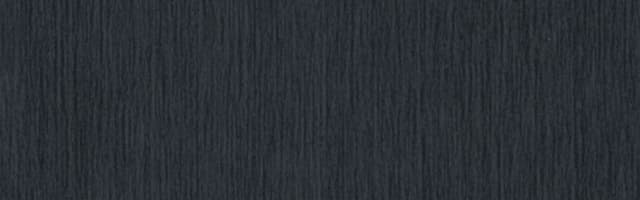
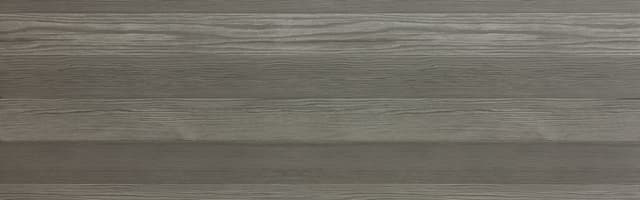
TEXTURAL IV paint system — matte wood-grain finish. Wood Collection: 3 plank variations per colour (#7, #8, #9 stamped on back); install in random order to avoid a wallpaper effect.

