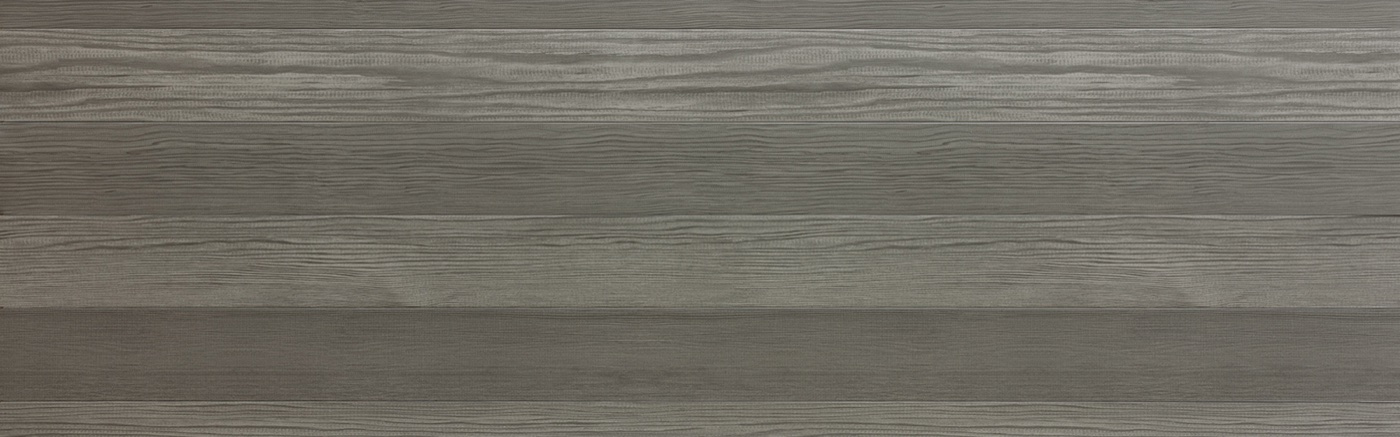
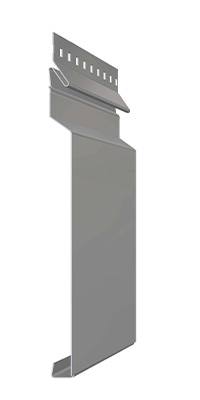
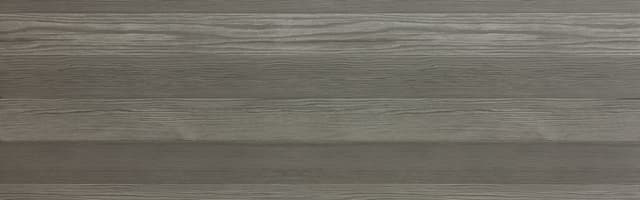
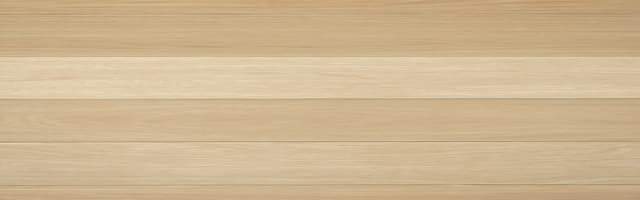
- 1
Wood Collection panels come in 6 plank variations per colour (numbered #1–6 on the back). Install in random order — never follow numerical sequence to avoid a wallpaper effect. Boxes come pre-mixed; each box contains 12 × 12-foot planks = 41 sq. ft.
- 2
Norwood Mini (3.4" exposure) can be combined with Norwood (5.38" exposure) on the same wall to create varied Scandinavian-style mixed-width strip patterns. Calculate the combined layout before starting installation.
- 3
Store panels indoors in a dry, well-ventilated area. If outdoor storage is necessary, place away from direct sunlight and extreme temperatures — heat causes the protective film to adhere more strongly, making removal difficult. Cover with a tarp.
- 4
Do NOT install over ZIP System Insulated R-Sheathing or similar dual-composite panels — insufficient rigidity causes movement, deformation, and oil canning under varying weather and sun exposure.
- 5
Install Starting Strip (M10D) using a laser level or chalk line, 3" above the base of the wall. Secure with one screw first, verify level, then fasten fully. For vertical installation, replace M10D with M50D drip strip — no starter strip required.
- 6
Use MAC Anticorrosion screws (A059.250 wood screw or A060.250 K-LATCH self-drilling) every 16" or 24" o.c. in the center of pre-punched holes. Drive with moderate contact only — do not overtighten. Screws must not exert upward or downward pressure on the panel.
- 7
Remove the protective film from panels before installation where possible to allow visual inspection of quality as work progresses.
- 8
Check alignment every 3–4 panels. If a furring strip section is not aligned, leave a small gap between the wall and the furring strip rather than forcing the panel — prevents excess pressure and oil canning.
- 9
Leave 1/8"–1/4" expansion gap between panel lengths at all longitudinal joints. On walls over 30 ft., install vertical expansion molding; on multi-storey structures, install horizontal transition molding at every floor.
- 10
For inside corners, install QJ Trim M22D and slide the panel end into the molding, leaving a 1/8" gap for expansion. For outside corners, install M20D (with integrated J Trim) before proceeding with panel installation.
- 11
Cut panels using the MAC Guillotine designed for Norwood siding, metal snips, or electric shears. Electric saws and angle grinders are NOT covered by MAC warranty.
- 12
Notify your supplier before installing more than 144 sq. ft. (2 boxes) if any product issue is discovered during installation to ensure warranty coverage is preserved.