Skip to main content
Exterior Pro Materials
James Hardie›Hardie® Trim

Board and batten, in fibre cement

Hardie® Trim Batten Boards

Hardie® Trim Batten Boards turn Hardie® Panel into board and batten: 2 1/2 in. wide, 3/4 in. thick and 12 ft. long, in Rustic Grain or Smooth Grain. They carry all 19 ColorPlus® Statement Collection® colours, the same palette as the panel, or come primed for paint.

3/4 in. (19 mm)19 colours

Available Colours

19
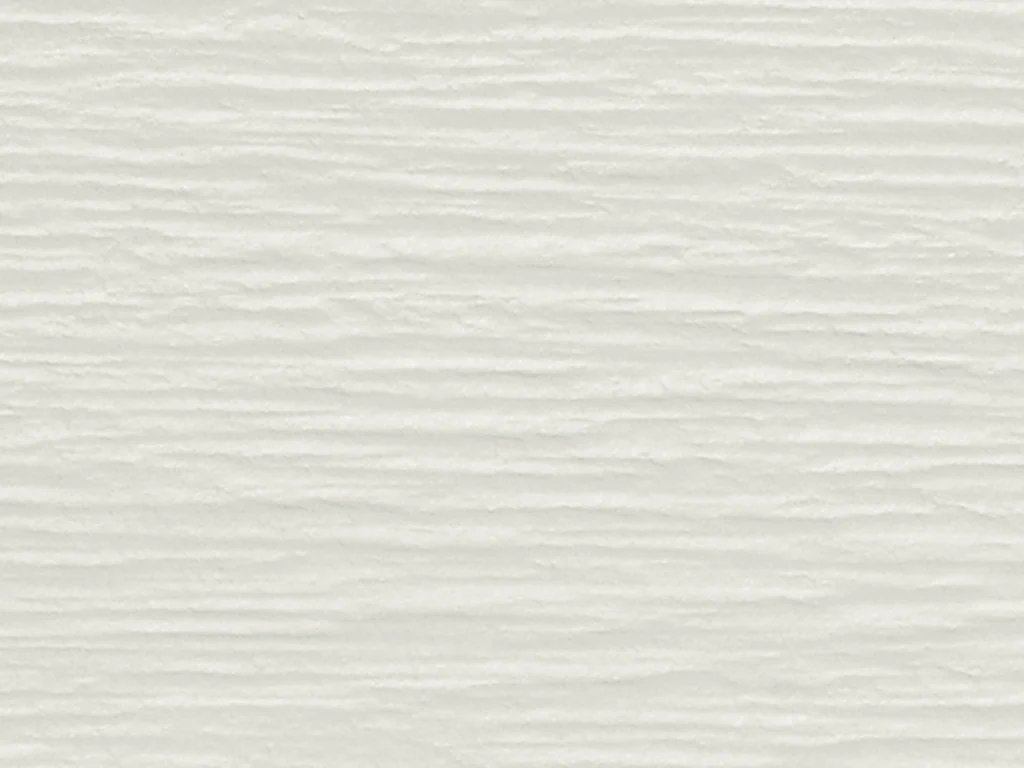
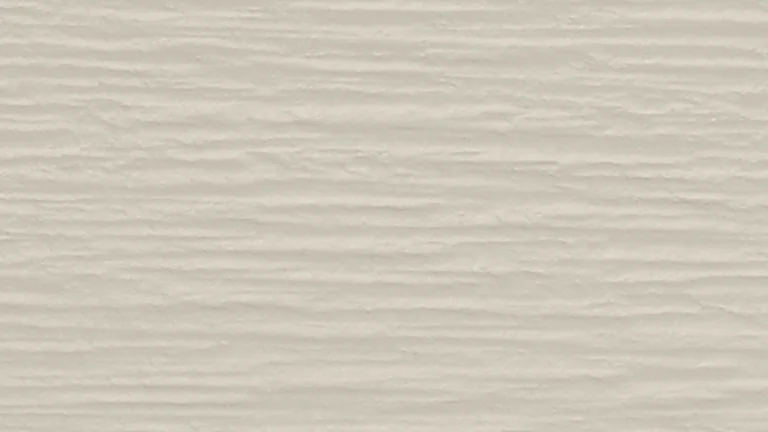
Hardie® Trim Batten Boards - Arctic White

Arctic White

Rustic Grain

Rustic Grain(19)

Smooth Grain(19)

Colours shown are approximate representations only and may appear differently on screen than the actual product. Request a physical sample before making your final decision.

About Hardie® Trim Batten Boards

Hardie® Trim Batten Boards turn Hardie® Panel into board and batten: 2 1/2 in. wide, 3/4 in. thick and 12 ft. long, in Rustic Grain or Smooth Grain. They carry all 19 ColorPlus® Statement Collection® colours, the same palette as the panel, or come primed for paint.

Hardie Trim Batten is the narrow board that turns flat Hardie Panel into board and batten. It is 2 1/2 inches wide, 3/4 inch thick and 12 feet long, fibre cement like the rest of the trim, and it goes over the vertical panel joints and at an even spacing between them. Two faces ship to Ontario. Rustic Grain has a pronounced lengthwise woodgrain and suits a Select Cedarmill panel and the modern farmhouse or Tudor look. Smooth Grain is flat and suits a Smooth panel and a more contemporary line. Unlike the trim boards, battens carry the full 19 Statement Collection colours in ColorPlus, the same palette as Hardie Panel, so panel and batten can match exactly or be set off in a contrasting colour.

The layout is what makes or breaks a batten wall. Snap chalk lines so every batten stays plumb and parallel, fasten with 2 inch 16 gauge finish nails at least 3/4 inch from the edges and no more than 16 inches apart, and use finish nails on ColorPlus, which is what James Hardie requires. Batten joints must fall where the panel has its horizontal joint, either with a weather cut of at least 22.5 degrees over the Z-flashing and a quarter inch gap that is never caulked, or butted to a horizontal band board. Neither the panel nor the batten bridges a floor.

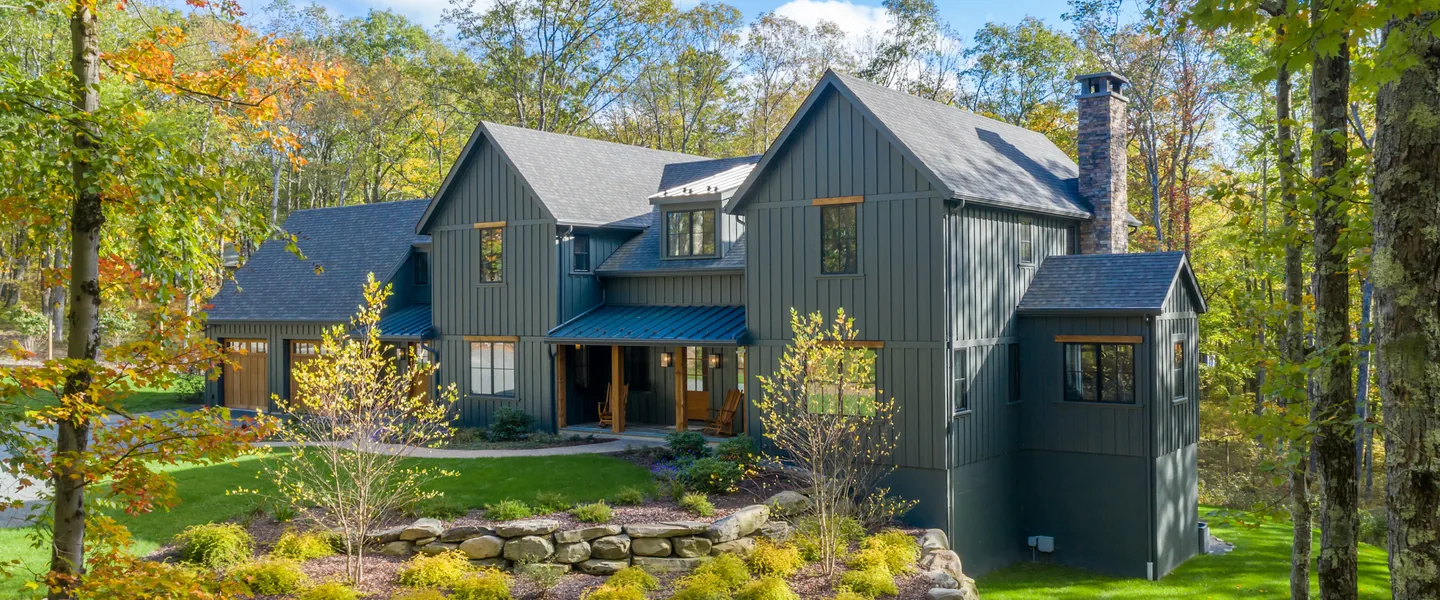
Available at Pro Materials in Newmarket, Ontario, supplying contractors, builders, and homeowners across York Region, the GTA, Simcoe County and Durham Region. All products are available on a quote basis; contact us for wholesale pricing and current availability.

Profiles & Specifications

Hardie® Trim Batten Boards - Rustic Grain profile
TX4Rustic Grain

A pronounced lengthwise woodgrain. The batten for Select Cedarmill® panel and a farmhouse or Tudor look.

Length12 ft. (3,658 mm)
Height / Width2 1/2 in. (64 mm)
Thickness3/4 in. (19 mm)
ColorPlus®19 Statement Collection® colours
PrimedYes
Texture codeTX4
Hardie® Trim Batten Boards - Smooth Grain profile
TX15Smooth Grain

A flat, fine face for a cleaner, more contemporary batten line over Smooth panel.

Length12 ft. (3,658 mm)
Height / Width2 1/2 in. (64 mm)
Thickness3/4 in. (19 mm)
ColorPlus®19 Statement Collection® colours
PrimedYes
Texture codeTX15

Specifications

Approved fasteners for battens

SubstrateFastener
Wood studs16 ga finish nail, 51 mm (2 in.), recommended
Minimum 11 mm (7/16 in.) OSB16 ga finish nail, 51 mm (2 in.), recommended
Steel studsET&F AST-075-0200G finish nail (recommended), ET&F AKN-100 pin, or 2 in. trim screw

From the HZ5 Canada Best Practice Guide. Finish nails are required on ColorPlus® battens.

Accessories and companion products

ItemWhat it is for
Hardie® Panel vertical sidingThe panel the battens are designed to go over
Z-flashingAt every horizontal panel and batten joint
Hardie® Trim boardAs a horizontal band board where battens break at a floor line
16 ga finish nails, 2 in., stainless recommendedThe batten fastener in the Canadian guide
ColorPlus® touch-up kitColour matched touch-up for nail heads

Order quantities and lead times may vary. Contact us for availability.

Installation Guide

Critical Installation Rules

  1. Lay out and mark every batten position, and keep battens plumb and parallel with snapped chalk lines or a level

  2. Fasten into wood or steel backing, at least 19 mm (3/4 in.) from edges, 25 mm (1 in.) from ends and a maximum 406 mm (16 in.) apart

  3. Use finish nails on ColorPlus® battens. Stainless steel finish nails are recommended. Do not staple

  4. Batten joints must fall at the horizontal joints in the Hardie® Panel

  5. Option 1: a weather cut of at least 22.5° on the lower batten just above the 6 mm (1/4 in.) gap over the Z-flashing, with a matching cut on the upper batten. Never caulk the gap

  6. Option 2: a horizontal band board with Z-flashing over it. The lower batten butts to the band board and the upper batten starts at least 6 mm (1/4 in.) above the flashing. Horizontal battens must use this option

  7. Do not bridge floors with battens or panel. Always create a horizontal joint between floors

  8. Clearances as for Hardie® Trim: 203 mm (8 in.) to grade, 50 mm (2 in.) to decks, paths and roofing

  9. Fasteners must be corrosion resistant. Hot-dipped galvanized is recommended, and stainless steel near the ocean, large bodies of water or in very humid conditions

  10. Drive fasteners perpendicular and snug. Do not over drive, under drive or angle them, and do not use aluminum fasteners, staples to the wall, or clipped head nails

  11. James Hardie's installation videos are filmed for the United States. Where a video and the Canadian HZ5® instructions differ, the Canadian instructions govern

Storage & Handling

  • Store flat, dry and covered, in the original packaging on a pallet off the ground. Add a waterproof cover outdoors
  • Carry pieces on edge and protect the edges and corners. Do not roll or dump the load off the truck
  • Installing product that is wet or saturated can cause shrinkage at the joints. If it gets soaked, lay it flat and let it dry completely first
  • Wipe construction dust off ColorPlus® product with a wet soft cloth or soft brush, then rinse with a garden hose
  • Touch up nicks, scrapes and nail heads sparingly with the ColorPlus® touch-up applicator. Anything larger than a dime means replacing the piece
  • Do not let ColorPlus® touch-up freeze, and apply it only when the air and the product are above 4°C (40°F)
  • Problems caused by third-party touch-up paint are not covered by the ColorPlus® finish warranty, and James Hardie does not approve caulk or patching compound for touching up ColorPlus®
  • Do not caulk nail heads on ColorPlus® product
  • Terminate field cut edges into trim and caulk where possible. Seal every other cut edge with the ColorPlus® edge coater
  • Remove the protective laminate sheet as soon as the piece is installed
  • ColorPlus® battens ship with a laminate slip sheet. Keep it on while cutting and fastening, fill the nail holes with a touch-up pen, then remove it
  • Caulk, paint or prime every field cut edge
  • Paint primed product within 180 days of installation. A 100% acrylic topcoat is recommended; back-roll if it is sprayed
  • Do not use stain, oil or alkyd based paint, or powder coating. Do not paint product that is wet
  • Sealant: elastomeric to ASTM C920 Grade NS Class 25 or higher, or latex to ASTM C834, per NBC 9.27.4
  • Cut outdoors. The best method is a circular saw with a HardieBlade® and vacuum dust collection. Never power cut indoors, and never dry sweep the dust
  • Fibre cement dust contains respirable crystalline silica. Use dust control and follow your provincial occupational health and safety rules

Product Videos

How to nail HardieTrim boards (James Hardie)

How to cut James Hardie trim products (James Hardie)

How to store and handle James Hardie trim on the jobsite (James Hardie)

Hardie® Trim Batten Boards: Frequently Asked Questions

How far apart should Hardie battens be spaced?
James Hardie does not set a single spacing. In a board and batten layout the vertical panel joints are normally covered by a batten, which sets the rhythm at 4 ft. panel widths, and James Hardie asks for battens laid out on chalk lines so they stay plumb and parallel. Most layouts split each 4 ft. panel into equal bays, so plan the spacing on the elevation before ordering.
Do Hardie battens come in the same colours as Hardie Panel?
Yes. Both battens, Rustic Grain and Smooth Grain, come in all 19 ColorPlus® Statement Collection® colours, the same palette as Hardie® Panel in Smooth and Select Cedarmill®, so a single-colour wall matches exactly.
Which batten texture goes with which panel?
The usual pairing is Rustic Grain batten on Select Cedarmill® panel for a woodgrain wall, and Smooth Grain batten on Smooth panel for a clean contemporary one. James Hardie sells them separately, so any combination is possible.
Are Hardie battens covered by the 30-year warranty?
James Hardie's warranty HS2401 names Hardie® Trim HZ5® boards and covers Canada, but it does not list battens by name, and the batten product page's warranty line refers to soffit, which looks like an error. We treat battens as part of the trim family and will get written confirmation from James Hardie on request.

Ready to order Hardie® Trim Batten Boards?

Submit your spec list and we'll respond with pricing and availability - usually within one business day. Available in 19 colours for your project.

Get a wholesale quote

Tell us the product, colour, and quantity - we'll handle the rest.

Request a Quote
or call us at+1 (905) 836-7272